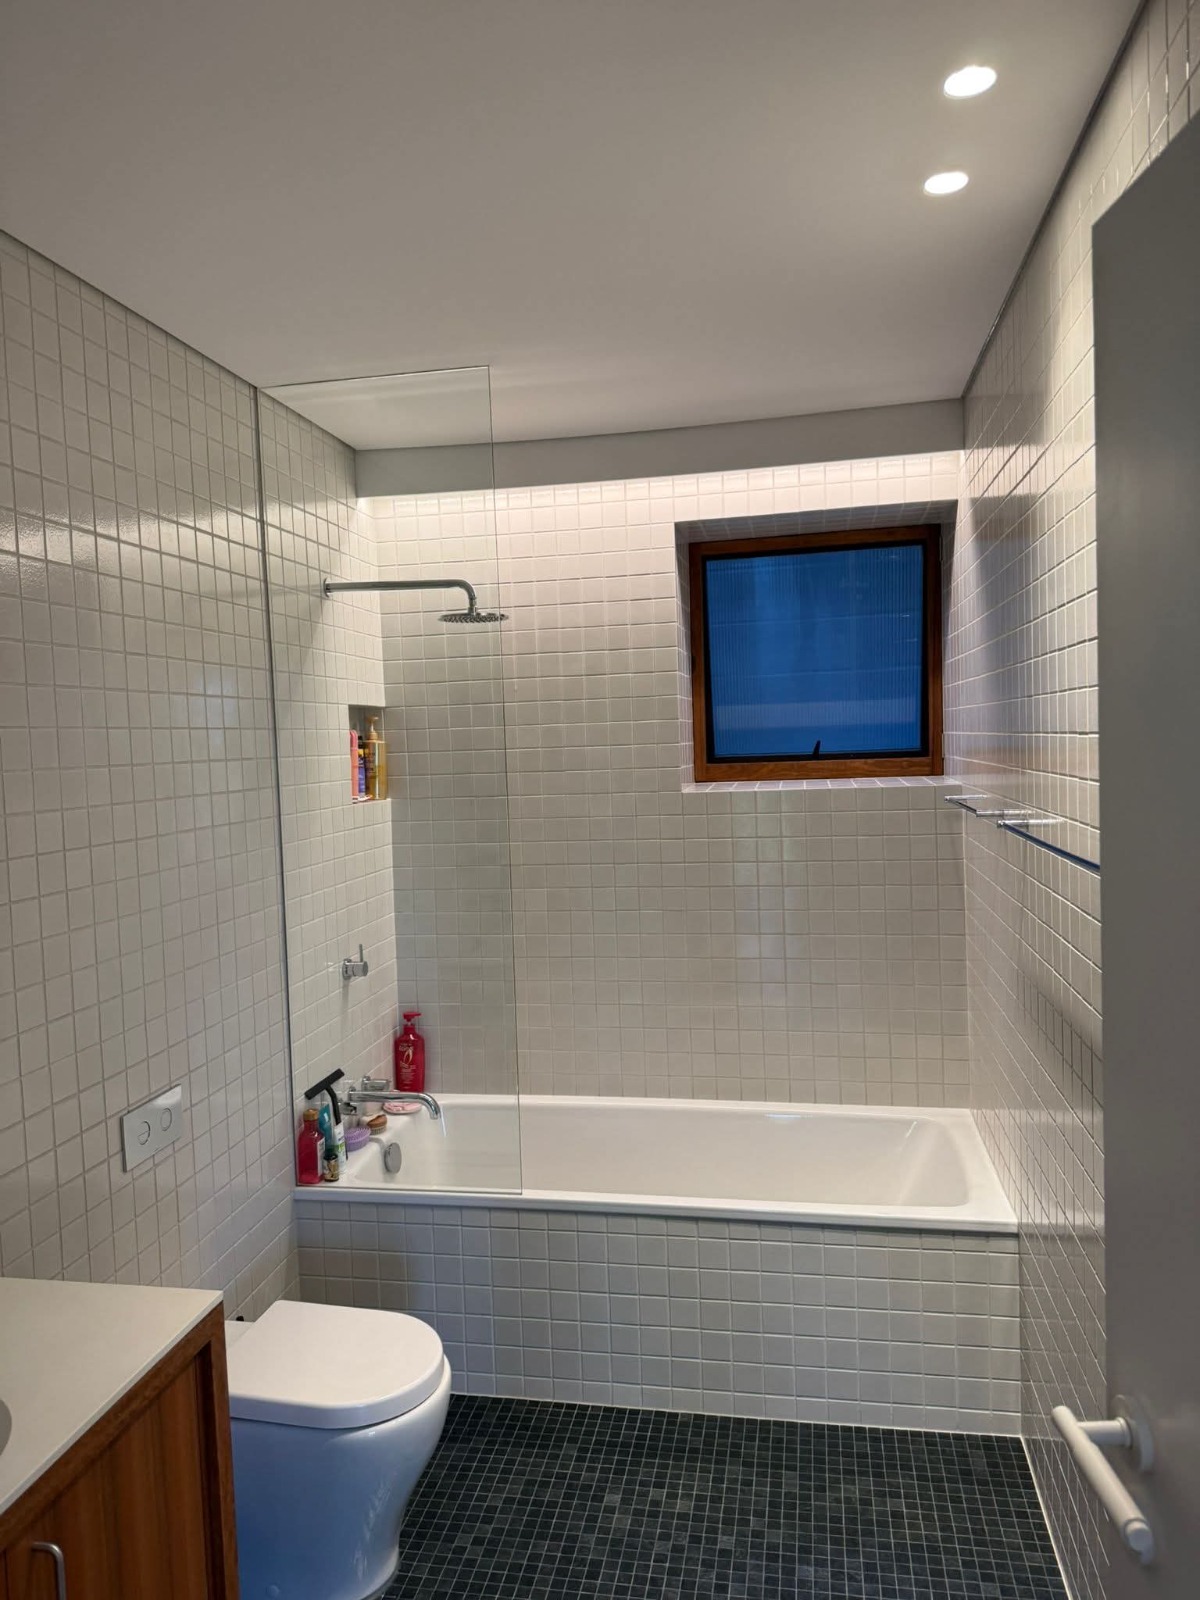
Bathroom is the hardest room in any builders clean. More surfaces than any other room, more different materials, more finishes that behave differently to cleaning chemicals, and more residue types left behind by the trades. Grout haze on tiles. Sticker adhesive on every fitting. Hard water installation marks on new chrome. Plastic protective film on toilets and vanities. Factory dust inside cupboards. Fresh silicone that can’t be touched yet.
Most operators rush through bathroom builders clean with multi-surface spray and miss everything. The grout haze stays. Stickers get half-removed and leave gummy residue. Chrome gets scratched by abrasive pads. Fresh silicone gets contaminated with cleaning product before it cures.
We do bathroom post-construction cleaning across every construction cleaning Sydney project we take on — residential renovations, apartment fit-outs, new builds, commercial refurbs, hotel and hospitality bathrooms. Here’s the trade method, start to finish.
Why Bathrooms Are Specifically Difficult Post-Construction
Four things stack up in bathrooms that don’t apply to other rooms.
Grout haze on every tiled surface. When tile layers grout and don’t fully wash the tile face within 24 hours, a thin dusty film cures on the tile surface. HIA’s guidance on AS 3958.1 ceramic tile installation confirms that post-installation cleaning is a mandatory stage of tile work. In practice the tile layer leaves it to the cleaner.
Sticker residue on every fitting. Toilets, vanities, mirrors, tapware, towel rails, shower screens, door furniture. Every single item arrives with factory stickers, model stickers, barcode stickers, protective film. All of it needs removal.
Fresh silicone that can’t be cleaned yet. Silicone cure time is 24-48 hours for surface cure and 7 days for full cure. Cleaning products contact fresh silicone will contaminate the cure and cause failure within months.
Water marks from installation. Trades test plumbing, run water, rinse surfaces. Hard water mineral deposits dry on chrome, shower screens, and tile surfaces. Looks like fingerprints and streaks but is mineral residue requiring acid removal.
The Real Order of Operations
Vacuum first. Walls. CTC and dish soap for everything else. In that order.
Step 1: Vacuum Everything
Before any wet product touches any surface. This is the step most operators skip and it’s the most important one. Bathroom construction leaves fine dust everywhere. Drywall dust on top of vanity cabinets. Silica dust on tile ledges. Grout dust on the floor. Sand and rinse residue in corners.
If you start with wet cleaning, you turn all that dust into mud that smears and embeds into grout joints. Then you spend three times as long cleaning the mess you made.
Full HEPA vacuum first. Top to bottom. Every horizontal surface, every corner, inside every cupboard, under the vanity, behind the toilet, shower floor and niche, window tracks, door tracks, light fitting housings, exhaust fan grille. Take it seriously. The vacuum stage is doing 40% of the actual cleaning work.
Step 2: Walls
Damp microfibre wipe-down of every wall surface. Top to bottom. Captures any remaining fine dust that the vacuum didn’t catch and resets the wall surface before you start on fittings.
CTC (Clean Through Clean, or your equivalent sugar soap / mild degreaser) if the walls have any construction residue, splatter, or finger marks. Otherwise damp microfibre with a drop of dish soap.
Step 3: Everything Else With Dish Soap and CTC
Here’s the honest trade answer most cleaners won’t tell you. For 90% of bathroom surfaces post-construction, dish soap in warm water is the right product. pH-neutral. Mild. Non-abrasive. Safe on chrome, stone, porcelain, laminate, glass, and tile.
Start mild. Always. Only escalate to stronger products when mild doesn’t do the job.
Shower screen and glass: dish soap in warm water, squeegee top to bottom, dry edges with microfibre. Mineral deposits left after? Then step up to white vinegar for those spots specifically.
Chrome and tapware: dish soap first. Buff with microfibre. Fingerprints gone, installation marks gone. Still visible mineral deposits? Then Bar Keepers Friend paste for those spots only.
Vanity, basin, benchtop: dish soap for the surface. pH-neutral means it’s safe on stone, laminate, timber veneer. Don’t reach for stone-specific product unless the dish soap didn’t work.
Toilet exterior: dish soap wipe-down. Disinfect the seat and base with whatever you’d use on any toilet. Interior: regular toilet cleaner with dwell time, scrub with the brush.
Mirror: dish soap in water, squeegee or lint-free microfibre. Done.
Floors: mop with dish soap in warm water. Any grout haze on floor tiles treated per walls method.
Sticker and Adhesive Removal
Every new fitting has stickers. Peel what comes off. Any residue left gets treated by surface:
- Glass and mirrors: plastic razor blade at 45 degrees (NOT metal — scratches glass coatings). Residue wiped off with isopropyl alcohol or Goo Gone.
- Chrome and porcelain: Goo Gone or isopropyl on microfibre. Never abrasive pad.
- Plastic components (toilet seat, cistern buttons): warm water and dish soap. Avoid solvents that can etch plastic.
- Protective film on vanities and bath liners: usually peels cleanly. Any residue treated per surface above.
Keep a small adhesive removal tray: plastic razor, isopropyl alcohol spray, Goo Gone, microfibre. That’s it.
Grout Haze Removal
This is the one place where mild-first can fail. Grout haze is cured cement residue on tile faces. Can’t always be removed with dish soap.
Start mild anyway: pH-neutral tile cleaner or dish soap with warm water, scrub with non-scratch pad. Light haze clears.
Only if that fails, step up to acid-based grout haze remover (Aqua Mix Cement Grout Haze Remover for ceramic and porcelain). Dilute per instructions, dwell 5-10 minutes, scrub, rinse thoroughly.
NEVER acid on natural stone (marble, travertine, limestone). Will etch permanently. pH-neutral stone-safe grout haze remover only on stone.
What to Flag Before Starting
Walk the bathroom before cleaning:
- Any obvious defects (chips, scratches, misaligned fittings) — photograph and flag to PM or client
- Silicone application date if not confirmed
- Any trades still planning to return (electrician for mirror cables, plumber for final connections)
- Unsealed natural stone (sealant date, product used — affects what cleaning chemistry is safe)
- Any outstanding items like missing fittings, incomplete finishes
Don’t start cleaning if the bathroom isn’t actually ready for final clean. Partial clean gets undone by subsequent trades.
The Product Kit
For a proper bathroom post-construction clean, we carry:
- HEPA sealed vacuum with crevice attachments
- Plastic razor blades (glass)
- Citrus solvent
- pH-neutral tile cleaner
- Acid-based grout haze remover (ceramic/porcelain only)
- pH-neutral stone-safe grout haze remover (natural stone)
- Microfibre cloths (colour-coded by zone)
- Non-abrasive white pads
Covers every bathroom scenario we encounter.
Our Bathroom Post-Construction Approach
Crystal Clean Sydney handles bathroom post-construction cleaning as part of residential and commercial builders clean scope across Sydney. Done properly with the right products, right method, and right order. Documented approach that supports project handover and defects walk sign-off.
Our construction cleaning service covers single-bathroom renovations through to large-scale fit-outs with multiple bathroom suites. Scope and method designed around what bathrooms actually need after construction, not generic commercial cleaning scope.